With our big weekend Steam Wars game looming, lots of work has been done with an added sense of urgency. Sometimes this brings out the best in me, but it can also lead to me taking short cuts and simplifying things just to get things done.
Its odd how our perceived OCD in one area can be ignored in another (or when we don’t have time to think it through). I have never been a perfectionist in my painting. Sometimes I get by with simple pant schemes and other times I can get very involved with a piece and spend hours trying new tricks on it.
This week its all about simple…

My work colleagues (mostly all ladies) seem to be able to multi task with little effort. I’m am less likely to multi task and more likely to ‘Start one thing – Stop – Start something else – Stop – Go back to the first thing – Stop…’ You get the picture?
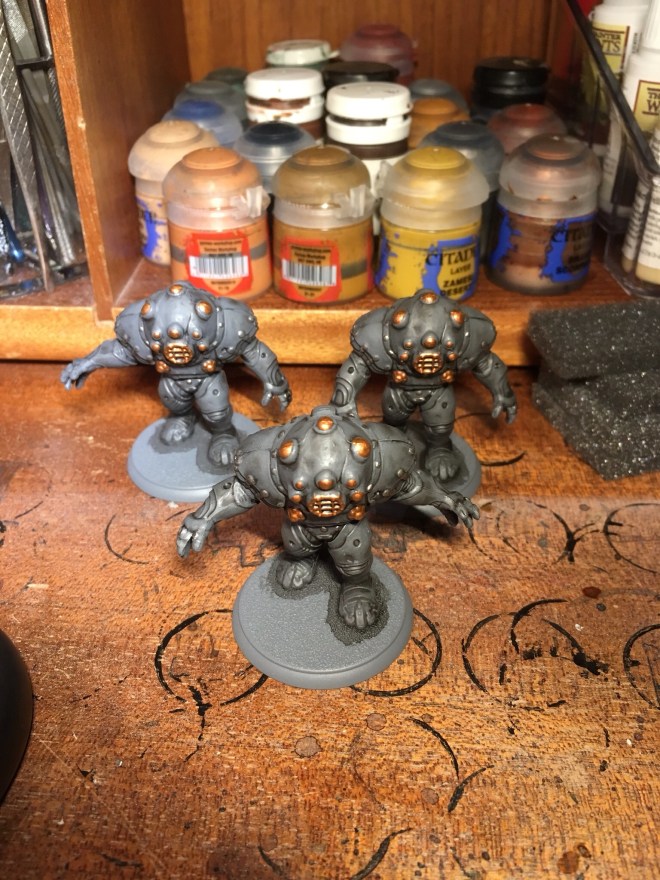
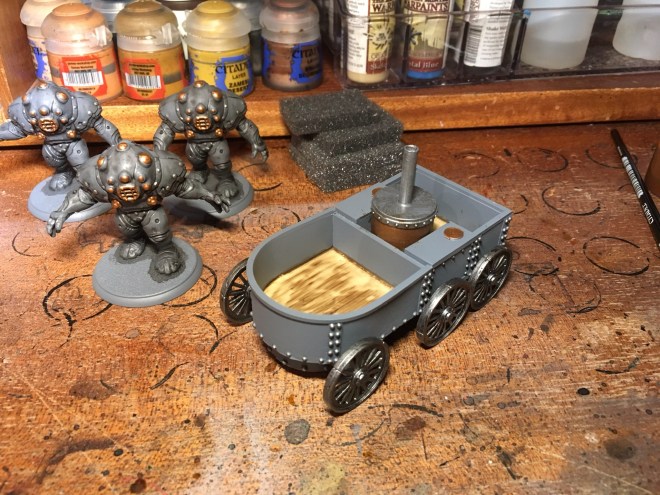
My painting table has been rotating from Heavy Dive Suits to Landing Craft to Walking Transport to Wheeled Transport. As one wash dries on something, another colour is applied elsewhere, then as that dries, on to the next thing. Its been quite nice actually. Productive, as long as I don’t ask too much of the finished articles!

The one thing that has slowed things up is bloody rivets! A side effect of playing a Victorian themed Steampunk game I guess, but why does everything have to have 200 rivets on it…

I know, it could be worse, I’m not painting tartan, or black and white checks I guess, but after 200 little silver dots I can’t always see straight.

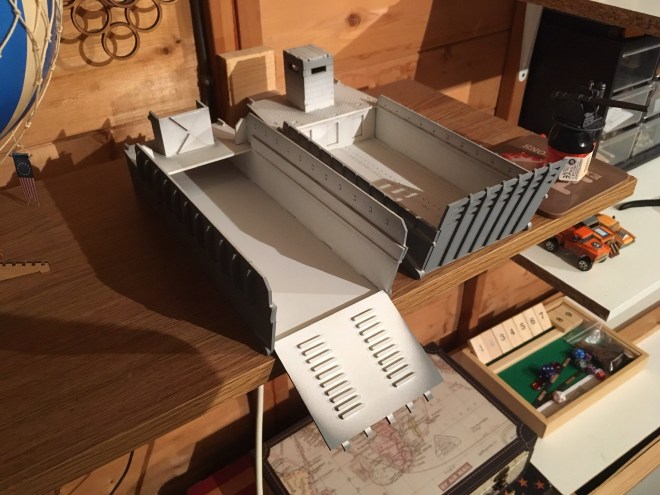
Thankfully the Landing Craft are rivet free. They also lend them selves to a ‘2 can basecoat’. Nothing to do with the Toucan, although I remember as a child being told a story about how that particular bird got its name and colourful plumage. He found out the hard way that he couldn’t carry 3 cans of paint!
Anyway, the ‘2 can basecoat’ is as simple as it sounds. Spray one colour on the top side (obviously its best then to let it dry) turn it over and spray the bottom with an alternate colour. In my case white and grey. Don’t worry if the colours bleed across slightly, that adds weathering and shading. An effect that, if you were using a proper painting method, you would need to add in at another stage.

The second shortcut with these boats was the sponge and dirty paint water method. Allows you the pleasure of avoiding unwanted brush marks and leaves you with a lovely layer of staining under the fingernails if you were not wearing gloves…

The usual sand and black edge completes the bases of any figures and adds a lighter look back to figures that can appear quite dark at first pass.

1/72 and 1/48 scale decals from the US Navy Goshawk model kit (easily available on eBay) finish the models off nicely. I have used the same decals on every part of my Navy Force (I have been through about 4 sets of decals so far I think).

Loadouts for the Landing Craft have been planned to perfection and should allow me to get the best from the sea deployment I plan to use.

Snug but room for a few friends if needed.

Even the big guns and their tows are all but set for the off.

The Ironclad transports will be ready as well with the walker wading in and the wheeled car hitching a lift on a Lander.

The walking car also has a small gun that I picked up from a bits box at the Derby worlds game show a while back. Just for self defence you know.
With that lot done I think I might even be ready…


