Fistful Of Kung Fu

I may have been spending less time in the shed recently but I have not been idle.  We got a game of Fistful of Kung Fu in recently. Yes, we are still trying to get a number of games from our ‘loved but neglected list’ played before summer gets too far along.

FFOKF benefits from a wide selection of scenery items.  Your protagonist (hero, leader, main-man (or woman)) usually gets to do an awful lot of actions in your opponents turn with this game. While the mass of minions that he brings along with him will only act in their own turn.

Lots of scenery protects him while he runs everywhere, and does everything he can, but it also adds some cinematic elements to the game. This is because he can activate various scenic items for some humorous effects (e.g. tip a blue portable toilet over on to an enemy figure…)

Its also a good excuse to get a Poundstretcher train set and a green plastic Thomas the tank engine crane onto the gaming table…

Weathering While The Weather Is Bad

With the addition of the Small Shop from Sarissa Precision shown previously, I realised that I had 4 buildings now sat unpainted on a shelf.  In fact all together they no longer fitted on the shelf. Something had to be done, or at least started…

So, instead of finishing off the small shop as I had planned I started all the others…  At once…  Why plan these things when unplanned actions lead to so much discovery…  (Must stop using so may … Its starting to look like the blog is covered with rabbit droppings…)

The smallest and most detailed is a Charlie Foxtrot Stables that I picked up with the useful advice that spray painting with grey then white (from differing angles) would give me a base coat while retaining most of the detail.

It worked well, so I tried it again on the second building. This was the Cricket Pavilion by Warbases.  Both these buildings are designed to represent wooden huts which I picture as being as whitewashed and weathered.  So that’s what I went for.

Both came out ok. I probably need to add more detail and pick out some areas with some colour as the white look is quite stark.  Some weathering to the lower half of the building added some colour variation but I need to look at what colour to darken that staining to as I think I need to go over the lowest planks with something to represent their damper foundations.  Maybe some moss or grass at ground level would help finish them.

The third building is the Grand Library from TTcombat.  This was built just after Xmas so has been painted quicker than most things in the shed.  I went for a slightly different approach here and like the finish so far.  Lots more to do though…

Grey then white allowed the detail to show up.  Then, a light spraying of the grey to the lowest edges with most of the spray focussed off the building and on the base board it was stood on.  Some more dilute ink washing helped to bring that shadow effect up further.  Again more detail is needed. Doors and steps in a contrasting colour maybe.

Now that they are all started, lets see how long it takes me to finish these off…

Tea And Sandwiches Will Be Served In The Pavilion (Eventually). 

Salute recently provided a shopping opportunity for me and I picked up some of the bits that I had been looking at for a few months now.  Warbases again featured heavily in these purchases.

I usually find their items easy to construct and go together without any problems or fuss.  Their cricket pavilion however is more fiddly than a lot of their stuff.  Clamps and rubber bands are the best friends one can have with MDF buildings.  A touch of ingenuity is also essential as these come without instructions.

Simple buildings when they are finished but that roof has 10 parts inside it…

The best moment for me was when I discovered the cricket screen in the pack.  I had not realised that this was in the pack but love the idea that the screen is included too.  I never expected to want one of these for the game table, but I am very happy to have one now.

So much so that it got finished first in readiness for our up coming Dust game.

Warbases now also provide some alternate wall sections for their Mill Wall set. These railings come in 3 styles of pointy or round iron.  At a pound each adding a few new wall sections does not break the bank.

Police House Finally Gets Some Finishing Touches

Sometimes we all get started on something, then get distracted for one reason or another.  I realised how that presents recently as I was setting up for a purely infantry Steam Wars game.

The game was to playtest Coronasan’s changes to the rules for infantry and close combat.  We have played many Steam Wars games now, and the rules are looking very tidy at the moment. Our playtesting continues though, with just the need for a slight balancing change every so often.  Heavy infantry and their effect on the game is one balance issue we now seem to have straightened out…

However, the moment of clarity I had before that particular game was more about my efforts at scenery collection.  When setting things up, I noted that the Warbases police house and out building that I own was still not finished.

I started this building in late December 2014 as it arrived in the shed as a perfect little Xmas gift.

Back then it was first played in its basic, naked state.

Now in March 2016, a whole 15 months later, I still found it unfinished.  The brick work and painting happened over 6 months ago but the roof remained untouched.

It has, surprisingly though, featured in many games over the time I have owned it.  Each time it was used I never needed to finish the roof because it was never really necessary. One great feature of the Warbases buildings is that the sections are all fairly interchangeable. I had managed to use this building so often because I had ‘borrowed’ a roof from another building each time I needed it for a game.

This game called for a full table of buildings so no spare roof was available this time.

This time I would have to get the job done (at last)…

One reason for not doing it before now is that it is actually a very long, messy and smelly job.  I use lasercut tile sheets made from thick paper and, due to the high number of cuts needed to make it, this stuff gets ash all over the place and leaves you with fingers that smell of burnt paper for days afterwards.

But, once done, the effort is well worth it.

A small lasercut chimney was added from the bits box and the finish is complete.  Well worth the effort but a long time coming. This means all my made up buildings are now fully usable.

Don’t get me started on the fact that I have not actually painted my Sarissa apartment blocks yet or that I have 2 small houses still unstarted from a purchase I made about 2 years ago.

Ceri Design Mats

Some new mats are on the market after a successful and very well run Kickstarter.

image

Ceri Design is the effort behind these printed felt mats with photo quality images.

image

The ‘sublimated artwork’ is nicely coloured and robust so as to keep its image without fading or rubbing off.  I got 3 mats from the kickstarter. Each was only £19 at that time. It would seem the low price is still available from the website today as well.

Mine are a 3’X3′ cobbled road system in scrubland…

image

…and a 3’X3′ fully cobbled mat. (I also got a Frostgrave themed one as a gift for Veganman, as he is always finding bits and bobs to pass my way…)

image

All the mats are currently available in 3’X3′ only, but Ceri is looking to continue expanding the range, so I hope that means he will be able to do larger mats in time.

Check them out if you need a small mat or a couple of mats to use together (as I have done here) on a larger table.

Warehouse District

Our Dust Battlefield game is due to be played on an industrial table.  Lots of cover and height changes.  A great excuse to get out my various warehouses and workshops.

Along with a bunker or two to add a bit of WWII theme.

IMG_2711

You can see I am making good use of my barbed wire rolls and the walkways I picked up from our trip to Salute.

IMG_1532

The small workshop from Warbases and the pre printed units from the XLC Kickstarter.

IMG_1530

And the new factory unit from Sarissa Precision.  Now painted like the Warbases workshop using a sponge painted, layered application. Brick base in industrial grey and roof and windows in weathered black.

IMG_1533

I’ve had some rust effect paint in the shed for some time and not often used it so it was a great chance to try it out on something.

IMG_1529

Looks good on the window bars and the railings.  Not so sure on the door.  I think less is more with this stuff.

IMG_1531

Overall a great little building that adds a little more to the collection in the shed. Likely to be well used.  Just need to get those walkways done now…

A Little More Wood.

Salute also resulted in the usual additions to the scenery in the shed.  Less than most years and smaller parts too.

4ground supplied the first bits in the form of these wire barricades.

They go together easily and with little need for trimming or complex gluing.  In fact, fitting the wire was the most complex bit! My advice would be not winding it too tight, this may seem simple but is harder than I expected when putting it into practice… keep this in mind if you pick up any yourselves.

I actually got ten of these (2 packs) for less than £10. A price that I think is very good. They should be useful in Bolt Action and Dust Warfare/ Battlefield as well as any post apocalyptic game. They may even be useful for the new Judge Dredd game if we go that way…

Sarissa Precision supplied me with a number of bits this year.  Yet to be painted but they will get a simple basecoat and touch up very soon.  These walkways will add the height to our games that we found useful when we played with the Deadzone scenery recently.  The scale is good (the only figure I had to hand does not quite fit the scenery I know…) and it should fit in well with a number of the other industrial style items I already have in the shed.

The guys at the show did not have all the bits that I needed so they were kind enough to post the extra parts at no extra shipping cost to me.  I am currently awaiting a couple of parts (longer straight walkways) but I will more than likely end up buying other bits from this set in time…

This little industrial unit was new on their catalogue for the show and looks great.  Simple, and easy to build, and the roof looks like it should be removable. This is however, too fragile to be taken off and on regularly (I broke part of it on the second time I removed it).  Mine will be fitted in place permanently to stop me causing more harm but this should not cause too many problems from a game play point.

My plan is to use a paint job that matches or at least compliments the workshop I have by Warbases.  The slightly worn look I managed on that building should be good here too.

Lastly I picked up something I have wanted for some time.  The Bandstand is a great idea.  It has little use in gaming but as a project should be fun and add flavour to the ever growing town I have hidden all over the shed.

All in all a great little haul.  Very pleased with what I have got.  The only item I regret not buying is the new Warbases cricket pavilion.  Again it has no great gameplay purpose but I think it has to be something every town needs.  Maybe next time…

A Busy Life And An Restart Of Post Regular Posting (I Hope)

Hi All

Just a note to say the shed life has been halted for a while as real life found itself taking over, mostly due to work and family commitments.  My apologies for the gap in service (I know that no one really noticed, but I like to think that someone may have missed me…)

The back log of prepped but unfinished posts will now be completed and uploaded for your viewing (pleasure?)

On a more upbeat note the blog has been linked to by those lovely people at Warbases who have images of my recently completed workshop up on their website as an example of what can be done with their kits.  They used kind words in their message to me and I’ve always been a sucker for a charm offensive so found myself happily allowing them to use the images.

As of tomorrow, we should return to normal service.

Steinberg

Red Bricking Everything

After the success of the Warbases workshop project, I have had a run on touch ups to the other MDF buildings in the shed.  The red brick colour that I used for the workshop was done with a staple for my MDF buildings, artists ink.  I first came across this stuff when I wanted a colour wash for some miniatures.  Let me tell you, it’s useless for that! BUT, it is great for MDF buildings as it soaks into the wood and gives a nice finish while still leaving any engraved lines very visible.

IMG_2408

The red brick colour is done using a red earth shade.  At about £6-7 a bottle from my local artist shop, this stuff is not cheap, but it does last, and a little goes along way (and when you are done, the bottle and pipette can be used for any other paint mixes you want to make up).

IMG_2351

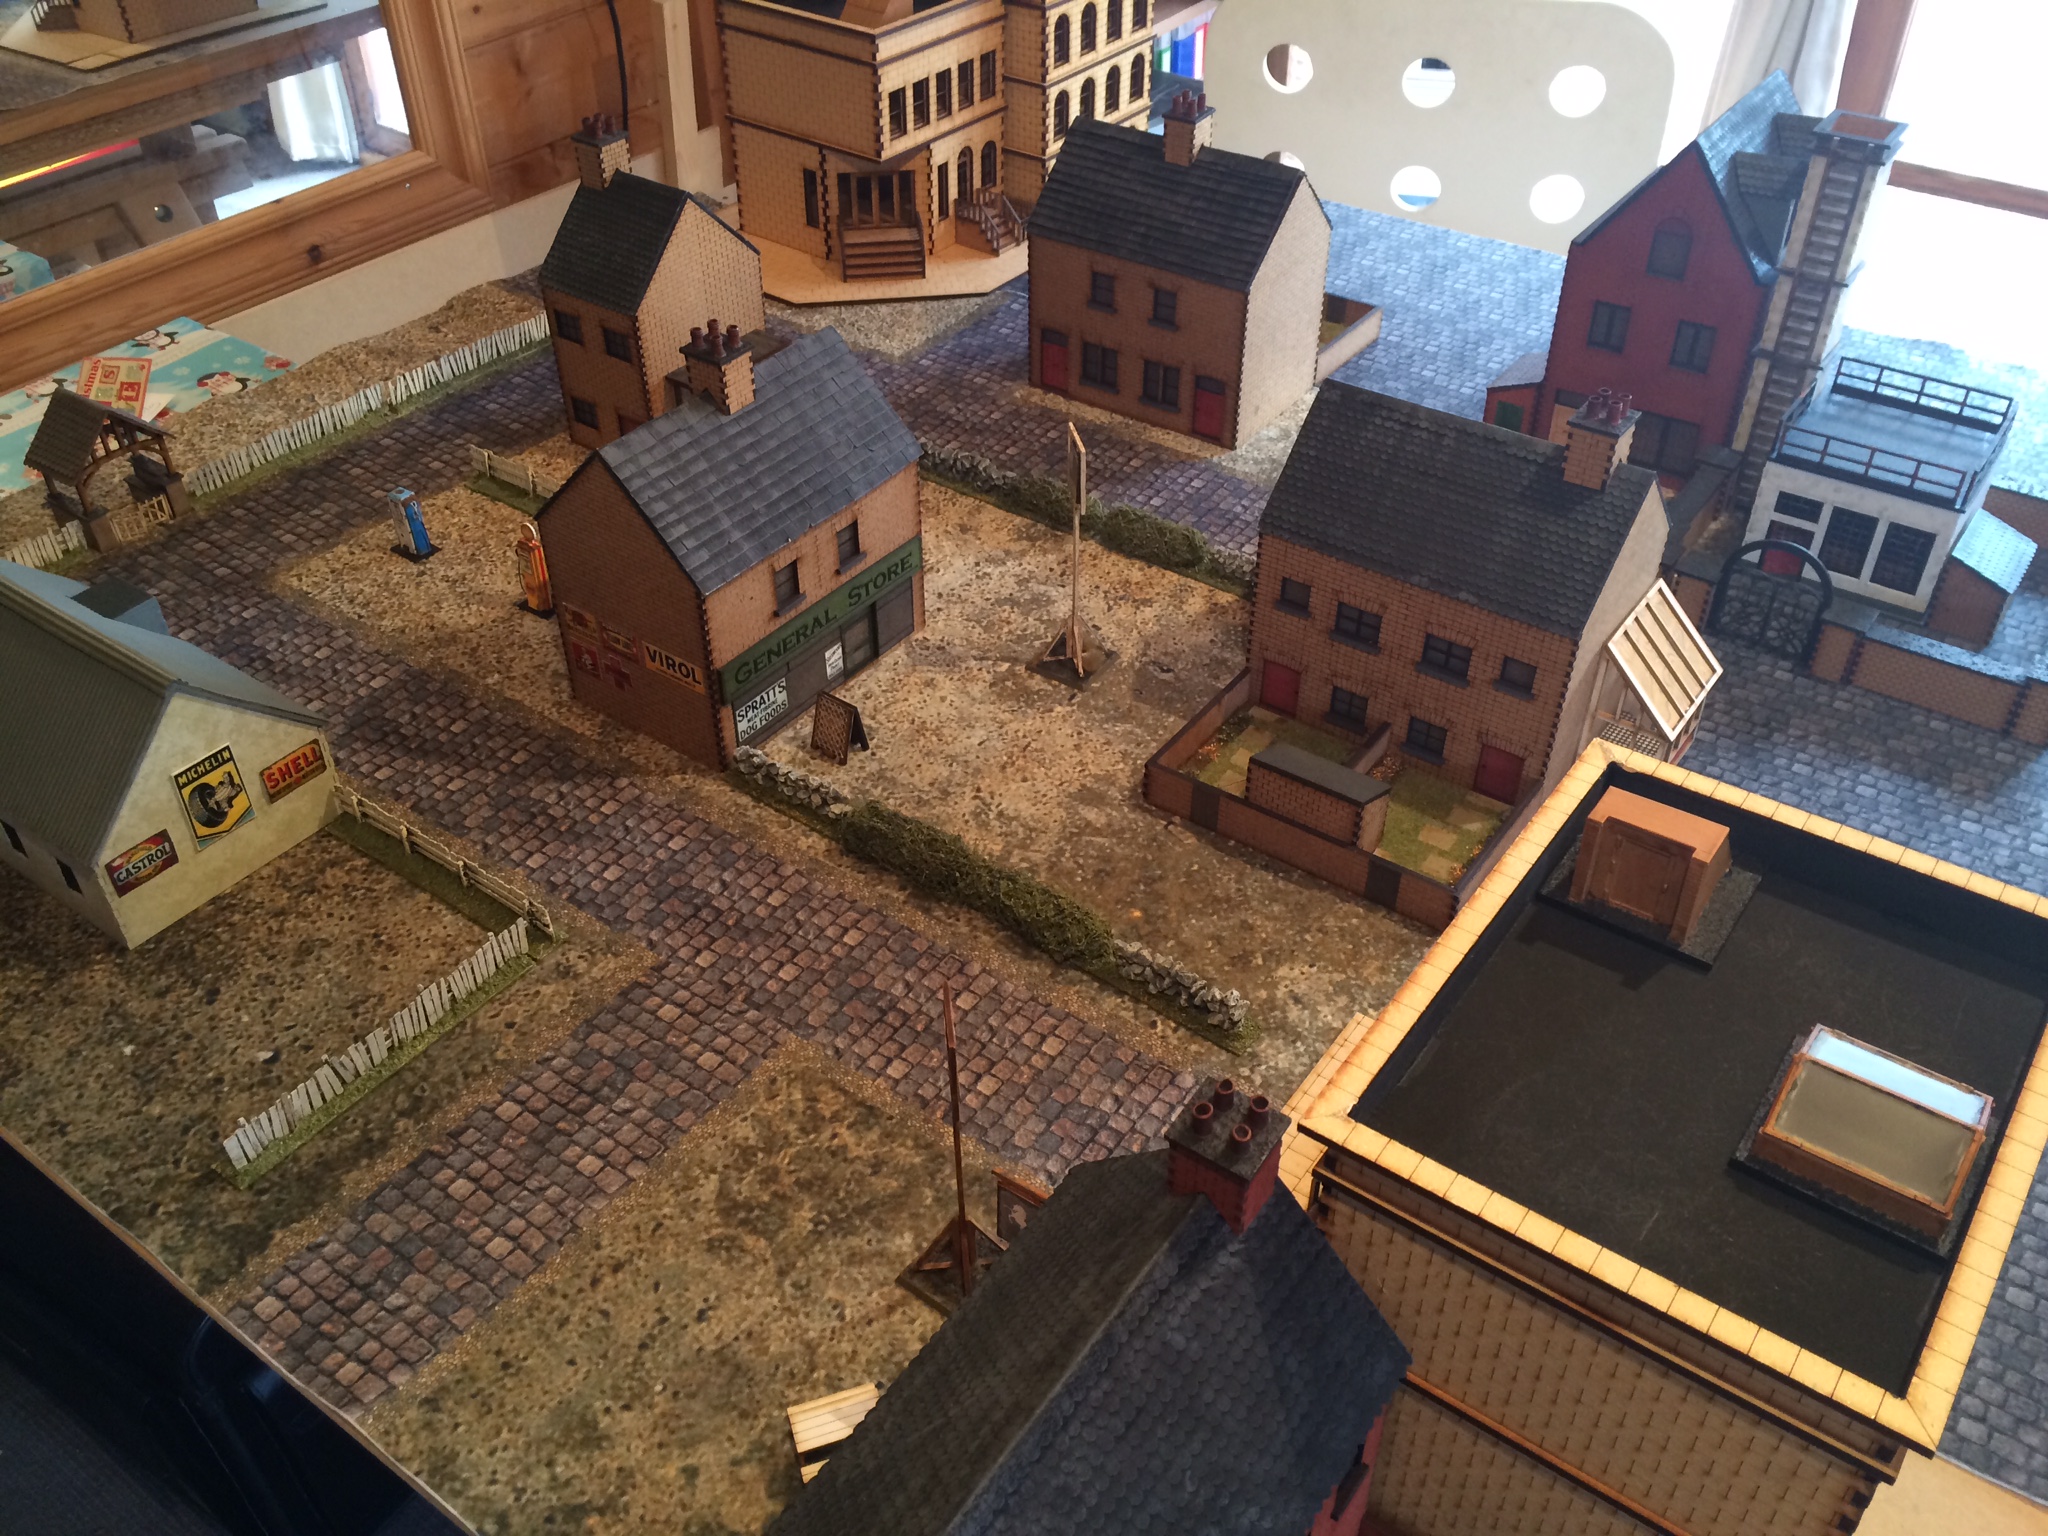
The police house got a coat of red earth to start with and shows the contrast of the old, plain wood, colour (on the roof and door) and new brick quite well in this photo.

IMG_2367

The Pub was next and looks great with its red brick look.  I even, finally, added in the red to the brick wall at the bottom of the greenhouse too.

My Flemish house has very plain, high walls, so needed to be more than base wood colour too.  The dormer windows got a coat of uniform grey while I was at it. They suddenly became very obviously wood coloured when all the other surfaces were painted.  As the tiles are dry brushed in this colour it ties in well with the roof as well.

The police house was finished with black window frames (no white plastic frames in Victorian times).  I used a lighter grey for the buildings name plate, and door surround on the building as well. Then the problems started…

While I was adding the grey, I accidentally splodged some in the upper right hand corner, above the door.  As it was a tiny mark, I thought a quick touch up with the red earth ink would be enough to cover it up.  This however resulted in a much darker shade in one area of the wall.  Applying two coats of ink changes the colour completely…  The darker area looked very obvious and I had no way of lightening it.

So I decided I could either paint the whole wall again, and hope that the corner became less obvious, or I could add in other areas of darker brickwork to make it look like it was a variation in the brickwork.  I opted for the latter, but the size of the accidental change in the corner remained very obvious compared to the other areas of repainted bricks.  The only other way to fix it was to cover it up with something…

This little item turned up in the post just in time to sort things out and cover up the majority of the problem. Its a 1/48 scale, train set police lamp.  It comes complete with a little LED bulb and wires.  A little more than I needed, as I don’t trust my electrical aptitude enough to power up a wooden building in a shed that is so full of flammable objects.

I’ve lots of other buildings still to paint up in the shed.  But, now that I’ve set on a basic brick colour, I think about getting started on the others. I do plan to mix up a couple of pots of ink with a lighter and darker shade, to gain some variation, so that they are not all the same colour.

Warbases Workshop Finally Gets A Touch Of Love

This little Warbases building has been on the shelf for a good couple of months.  It was the trial roof for my bigger warehouse but after that was completed the momentum stopped and no further updates have occurred.  This is a lovely little building with lots of nice touches like sliding doors.

IMG_2147

That has however changed.  I had a quiet half term when my daughter was home and I couldn’t get any games in.  I did get lots of time to break out the paint brushes and finish a few projects. 

IMG_2344

The basic paintjob was a whitewash to 3 walls and red brick to the remaining side.  The whitewash was applied using a small piece of foam and some watered down white paint. A stippled coat of white was applied with the aim of getting an aged and heavily repainted look. This came out as a bit too clean.  So, the foam was dipped into my paint brush water (a lovely dirty, green tinged pot of filth) stippling that over the wet white did the job well.

IMG_2348

Add in some of the 1/43 scale signs, a couple of bins and a petrol pump or too…

IMG_2347

Just a dirty up of the roof was needed to finish the overall look (again a healthy wash of dirty water with a drop or two of army painter ink to darken it slightly).

IMG_2346

Job done…

IMG_2352

All garages need some thing to work on so a small collection of cars has been collected recently.

IMG_2332

The Audi came with bullet holes painted on it already…

IMG_2330

And with a 70s Ford Granada police car they are perfect for our Kung Fu games of late.

IMG_2331

Our future games look like they will have lots of tough coppers driving about on the table trying to stop all the mayhem from happening.

VERY happy with how this has come out…